Improve your blog's meta tags and make it SEO friendly
Blog post by Ionuț Alixăndroae
What on Earth is SEO?!
A quick search on Google and this Wikipedia article comes up
So in a nutshell, you're optimizing your website, or blog, or even one page to make it better accessible in the search engines. More than that, you can customize the way it appears in the results or when it's getting shared across social media.
Well, if your blog or website is created using NuxtJS, same as this one, there are a few tricks to accomplish this, nothing rocket science! 🚀
I would like to start by recommending two articles: this one and this one. The authors explained really well why NuxtJS is good and also bad with SEO (at least with the default settings).
It all started with this Tweet
For some reason Twitter is not recognizing some SEO properties of a page when I'm trying to share it here.
— Ionuț Alixăndroae (@ialixandroae) October 12, 2021
Definitely the worst part of my evening 💢 (so far 🤣)#webdev
For some reason, I could not get Twitter (and also LinkedIn) to recognize some of my page details and properties and also to display the image in a nice sharing card. 🙄
As any other good developer, I started directly by tweaking the code here and there, yolo 🤠

Then went to Stack Overflow 😖

After carefully reading those two articles and some other resources, it looks like the meta properties in my pages were either incorrect, invalid or not present at all.
Official documentation: https://nuxtjs.org/docs/features/meta-tags-seo/
Global settings
Nuxt lets you define all default <meta> tags for your application inside the nuxt.config.js file using the head property. This is very useful for adding a default title and description tag for SEO purposes or for setting the viewport or adding the favicon.
export default {
  head: {
    title: 'Blog - Ionut Alixandroae',
    meta: [
      { charset: 'utf-8' },
      { name: 'viewport', content: 'width=device-width, initial-scale=1' },
      {
        hid: 'description',
        name: 'description',
        content:
          process.env.npm_package_description || 'Blog - Ionut Alixandroae'
      }
    ],
    link: [
      {
        rel: 'stylesheet',
        href:
          'https://fonts.googleapis.com/css2?family=PT+Serif:ital,wght@0,400;0,700;1,700&family=Poppins:wght@500;700&display=swap'
      },
      { rel: 'icon', type: 'image/x-icon', href: '/icon.png' }
    ]
  }
}
Local settings
You can also add titles and <meta> for each page by setting the head property inside your script tag on every page.
<script>
  export default {
    head: {
      title: 'Home page',
      meta: [
        {
          hid: 'description',
          name: 'description',
          content: 'Home page description'
        }
      ]
    }
  }
</script>
Locally using the head as a function so that you have access to data and dynamic properties
This is what did the trick in my case, for each new blog page with dynamic content, dynamic title, image & description.
<script>
  export default {
    head() {
      return {
        title: this.post.title,
        titleTemplate: '%s - Ionut Alixandroae',
        meta: [
          {
            hid: 'description',
            name: 'description',
            content: this.post.description
          },
          {
            hid: 'image',
            name: 'image',
            content: 'https://blog.ionutalixandroae.com' + this.post.img
          },
          // Open Graph
          { hid: 'og:title', property: 'og:title', content: this.post.title },
          {
            hid: 'og:description',
            property: 'og:description',
            content: this.post.description
          },
          { hid: 'og:type', property: 'og:type', content: 'article' },
          {
            hid: 'og:image',
            property: 'og:image',
            content: 'https://blog.ionutalixandroae.com' + this.post.img
          },
          {
            hid: 'og:image:secure_url',
            property: 'og:image:secure_url',
            content: 'https://blog.ionutalixandroae.com' + this.post.img
          },
          {
            hid: 'og:image:alt',
            property: 'og:image:alt',
            content: this.post.title
          },

          // Twitter Card
          { name: 'twitter:site', content: '@ialixandroae' },
          { name: 'twitter:card', content: 'summary_large_image' },
          {
            hid: 'twitter:url',
            name: 'twitter:url',
            content: 'https://blog.ialixandroae.com'
          },
          {
            hid: 'twitter:creator',
            name: 'twitter:creator',
            content: '@ialixandroae'
          },
          {
            hid: 'twitter:title',
            name: 'twitter:title',
            content: this.post.title
          },
          {
            hid: 'twitter:description',
            name: 'twitter:description',
            content: this.post.description
          },
          {
            hid: 'twitter:image',
            name: 'twitter:image',
            content: 'https://blog.ionutalixandroae.com' + this.post.img
          }
        ]
      }
    }
  }
</script>
Having Social Media Meta Tags
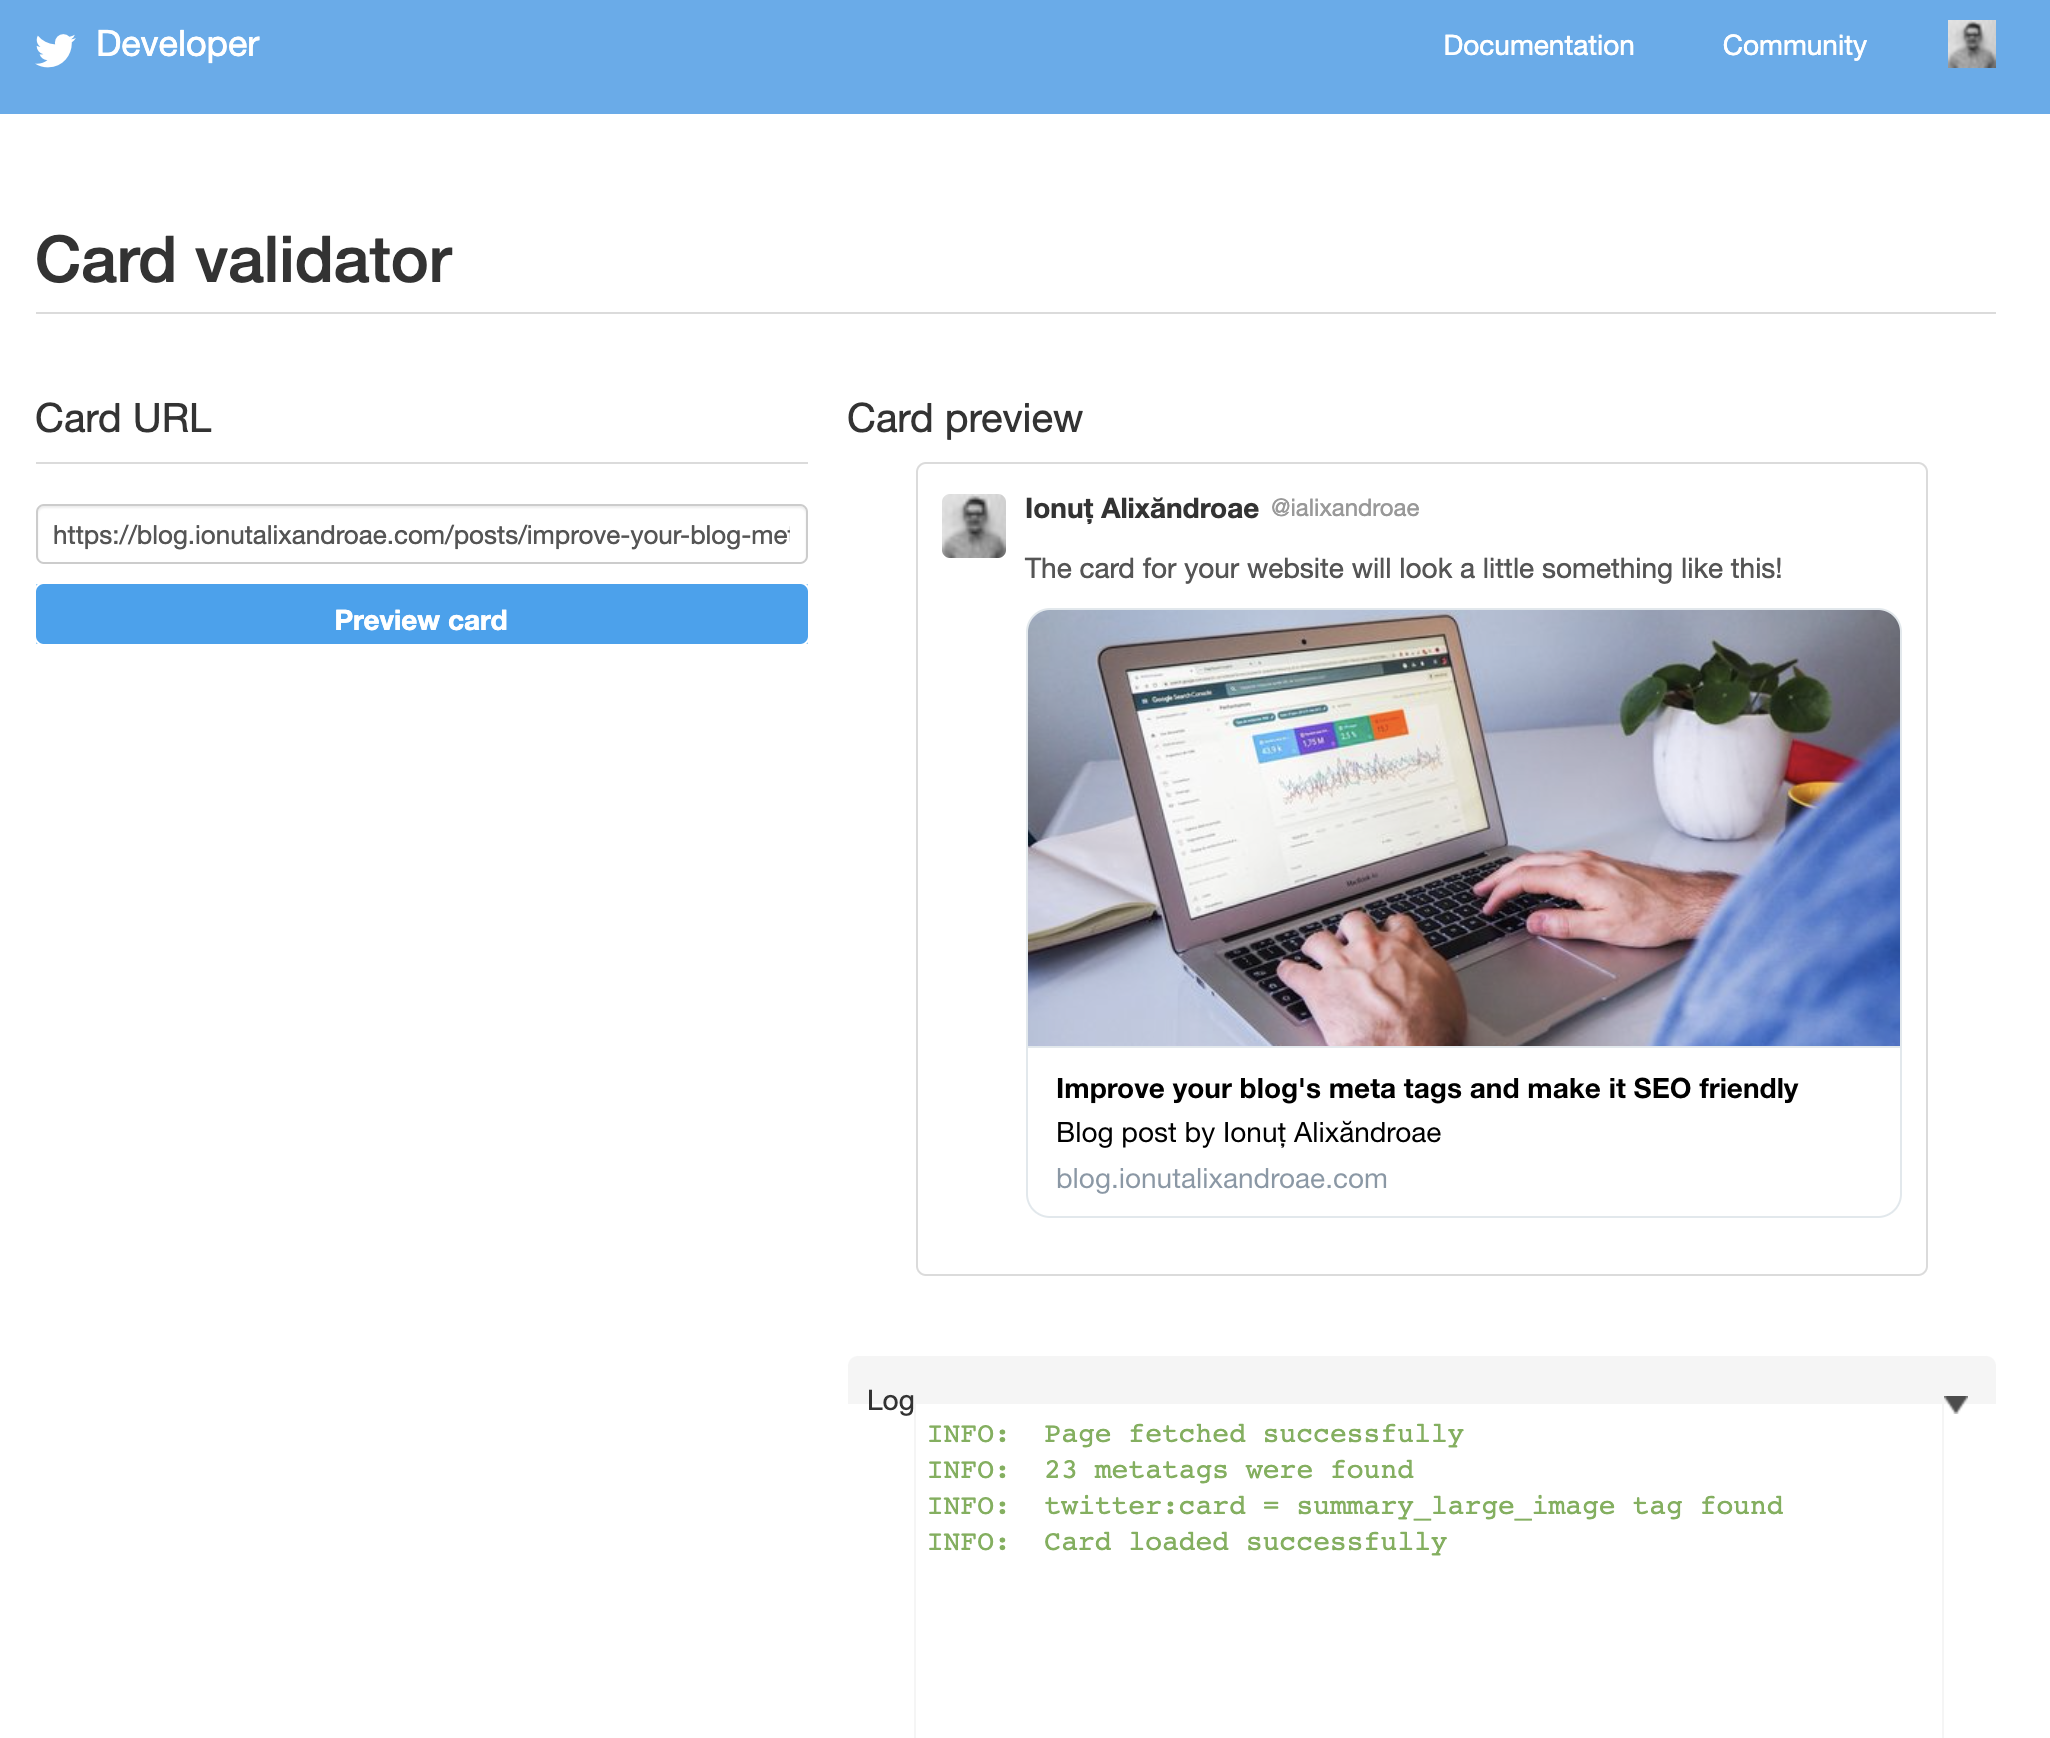
Having all the properties set and working ended up with a very nice preview of my pages when shared across social media. What's even more helfpul is the fact that these sites have special pages where you can test and validate your updates and your meta properties. Some of these validators even offer suggestions on which tags must be added or updated.
https://cards-dev.twitter.com/validator
Just put your page URL here and preview the card result

https://www.linkedin.com/post-inspector
Same principle with LinkedIn

https://developers.facebook.com/tools/debug
And same here

Summary
I hope this 10 minute read will help you save one hour of debugging (😂) and will assist you set up your webpages SEO and social media optimized right away!